How to repoint ashlar masonry
Overview
Overview
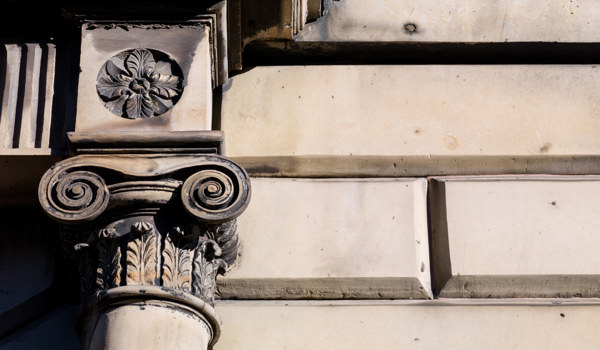
Ashlar masonry is built with large, regular, squared stone blocks, a method brought to Scotland by the Romans. A range of stone types was used across Scotland in the construction of traditional ashlar buildings, but sandstone was used most often in most areas as it's easy to cut.
The correct pointing mortar, i.e. lime, gives a building its ability to breathe, preventing the decay of the masonry. Repointing ashlar masonry, when required, is a vital part of building maintenance that helps to ensure the long life of the building.
Repointing is necessary when the bedding or jointing mortar washes out and the ashlar blocks are at risk of becoming unstable. It may also be necessary to halt the damaging effects of cement mortars, one of the common causes of problems with ashlar pointing.
A survey of the existing pointing mortar should be carried out before work begins to assess how much repointing work is required.
Care must be taken, and suitable tools used, to avoid damage when raking out ashlar masonry for repointing. Careful mortar preparation is also important. Lime mortar must be used and coarse sands that could clog the fine ashlar joints should be avoided.
Lime mortar can be inserted into the ashlar joints in several ways during pointing. Each has its pros and cons, and a combination of two or more techniques may be used for a single pointing job.
- Next
-
Characteristics of ashlar masonry
Related to How to repoint ashlar masonry