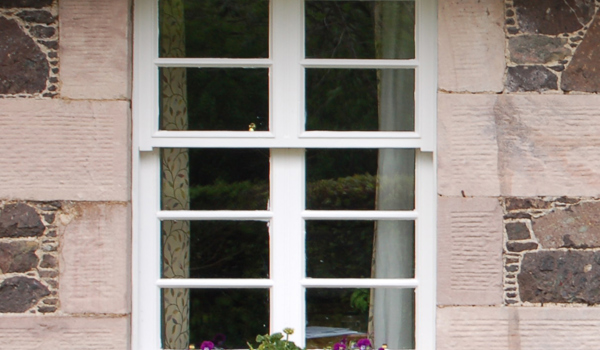
How to repair and upgrade sash windows
Replacing sash cords
Replacing sash cords
Sashes are hung on cords that pass over pulleys and connect to weights hidden in the hollow sides of the case. Sash cords should be replaced when worn or broken. Chains were often used in larger, heavier windows, and these should be kept and repaired, though new ones are available if necessary.
Sashes must be removed from the window frame to replace the cords. This is a two-person job best carried out by joiners.
New sash cord must be of the same diameter as the old. Cotton cord is normally supplied pre-stretched and saturated with wax to reduce the risk of rot and to allow it to run smoothly. Braided cord is more durable than twisted.
Process for replacing sash cords
- Remove one of the inner baton rods – it will be secured by secret nailing, screws, turnbuckles or easy-to-use fittings if Simplex hinges are fitted.
- If replacing the cord for the top sash, prise out the parting bead on the same side as the removed baton rod – this allows the sash to be released.
- Use a tack lifter to detach cords from the side of the sash while ensuring that neither the sash nor the cord and its concealed weight drop. Set the sash aside.
- Remove the weight box cover next to the damaged rope – retrieve the sash weight from the bottom of the case and clear the weight box of any debris.
- Thread an overlong section of the new sash cord over the pulley and down into the weight box until it’s visible at the bottom – tie it to the existing weight.
- Adjust the length of the sash cord over the pulley – the weight should hang 75–100mm above the bottom of the weight box with the sash fully raised.
- With the sash supported close to the window opening, pull down the new cord so that it’s slack, set it into the groove in the side of the sash and gently nail into place with large blued tacks.
- Once both sash cords are attached, put the sash back into position and check it operates smoothly, and then reattach the parting bead and baton rod.
- Previous
-
Repairing sash windows
- Next
-
Painting sash windows
Related to How to repair and upgrade sash windows